The Essential Amateur Photography Checklist: 15 Things to Verify Before You Press the Shutter
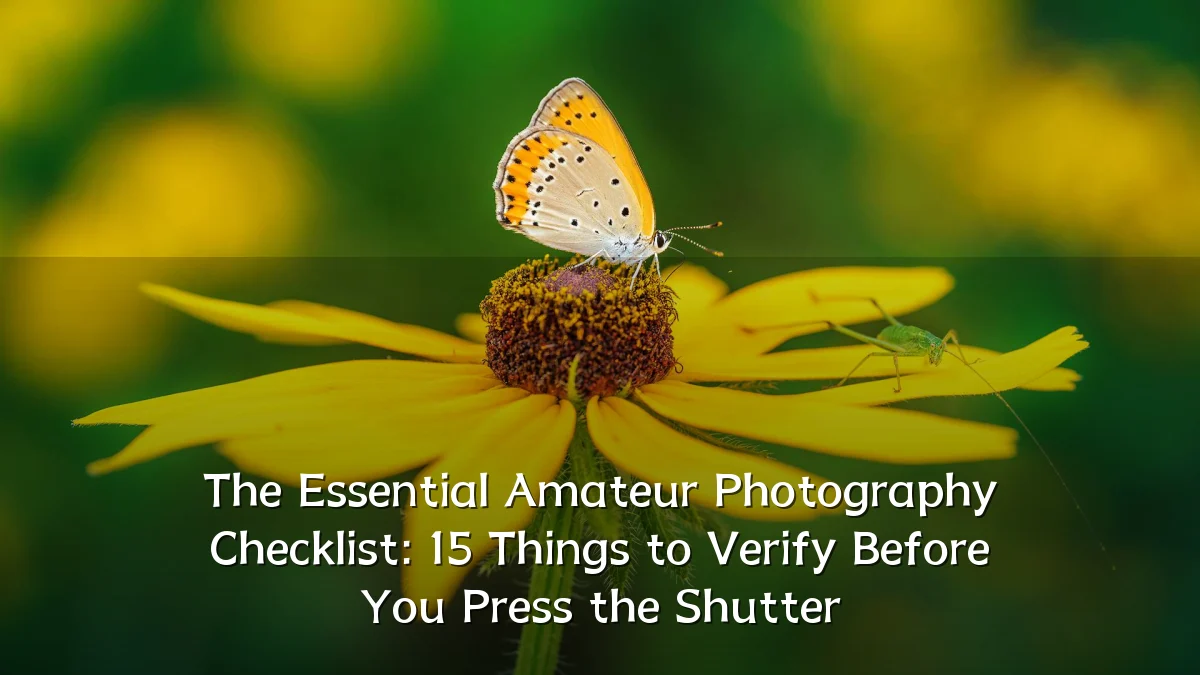
Amateur photography has expanded rapidly in recent years, driven by affordable interchangeable-lens cameras and increasingly capable smartphones. Yet as shooting volumes climb, so does the number of preventable mistakes that occur at the moment of capture. A structured pre-shutter checklist has emerged as a practical response, turning scattered habits into a repeatable routine that protects both creativity and technical quality.
Recent Trends
Current camera gear emphasizes speed: faster burst rates, quicker autofocus, and real-time scene recognition. For amateur photographers, this convenience has shifted attention away from manual verification steps that once forced slower, more deliberate work. Online communities now frequently share stories of ruined outings caused by a forgotten spare battery or a nearly full memory card.

- Social platforms reward quick posting, which pressures photographers to skip preparation and rely on post-editing.
- Camera makers increasingly automate exposure and focus, reducing the perceived need for user-side checks.
- Travel and event photography have made portable, all-in-one solutions more popular than specialized kits.
Background
Checklists have long been used in fields where failure costs time, money, or safety, such as aviation and journalism. Photography is comparatively low-risk, but the logic still applies: a short set of verifications performed before every shoot prevents a small set of recurring errors. The amateur market, in particular, has embraced this approach because it requires no extra equipment and works across every camera type, from vintage DSLRs to mirrorless bodies and smartphone setups.

The shift toward RAW capture and cloud-based editing has also raised expectations for exposure and color accuracy. What once could be fixed with a simple filter now demands disciplined in-camera settings. That has made a standardized pre-shot routine more relevant than ever.
User Concerns
Experienced amateur photographers point to a few predictable failure points. Dead batteries and full cards lead the list, followed closely by smudged lenses and accidental manual settings that carry over from previous sessions. White balance mismatches and missed focus are common when lighting changes faster than the shooter can react. Newer photographers also worry about privacy and permission when photographing in public or at private events.
The following 15-point checklist addresses these concerns directly. It is designed to take under two minutes and can be adjusted for any genre:
- Check battery level and confirm a spare is within reach.
- Confirm memory card capacity and write speed before the session.
- Inspect the lens front and rear elements for dust, smudges, or moisture.
- Verify that the attached lens matches the planned subject and distance.
- Set white balance to match the dominant light source or switch to auto only if reliable.
- Select an ISO appropriate for the available light and desired noise level.
- Confirm aperture priority or manual aperture for the intended depth of field.
- Check shutter speed against subject motion and camera shake risk.
- Choose the correct focus mode and confirm the active focus point.
- Review exposure compensation, especially if the last scene was unusually bright or dark.
- Tighten the neck strap or wrist strap and secure the camera grip.
- Deploy a tripod or other stabilization if shutter speeds fall below safe handheld limits.
- Assess lighting direction, contrast, and any planned flash or reflector use.
- Confirm whether subjects have consented to being photographed and whether location rules allow it.
- Verify a transfer and backup plan, including whether the card will be formatted before or after import.
Likely Impact
Adopting a fixed checklist consistently reduces the most preventable errors without stifling spontaneity. Photographers who follow the routine report shorter post-processing sessions, fewer discarded frames, and more confidence when conditions change mid-shoot. The checklist also serves as a learning tool: each verification reinforces how a camera setting interacts with the final image, building technical understanding over time.
From a practical standpoint, the discipline transfers well across camera systems. A photographer who moves from a smartphone to a dedicated camera, or between two brands with different menu layouts, can rely on the same mental framework rather than memorizing each device's quirks.
What to Watch Next
As camera software grows smarter, the amateur checklist may evolve. In-camera exposure previews and focus stacking are already common, and future models may add automated pre-shot diagnostics that flag low battery, insufficient card space, or even lens smudges before the shutter opens. Cloud-based editing tools may also influence which settings matter most, since some errors are easier to correct in post than others.
Photography clubs and online forums are likely to keep refining their own shared checklists, adapting the core sequence to niche fields such as astrophotography, street work, and macro shooting. For now, the simple act of verifying 15 items before each frame remains a low-cost, high-reward habit for amateurs at every skill level.